GROK: Adding Images
GROK Editor Features: Adding Images
The directions below will show you how to add screenshots to your GROK article.
Please take a quick look over the examples in the article below for guidance on how screenshots should be framed for GROK:
GROK: Ideal Screenshot Sizing
PLEASE NOTE: Images need to be saved in .jpg or .png format.
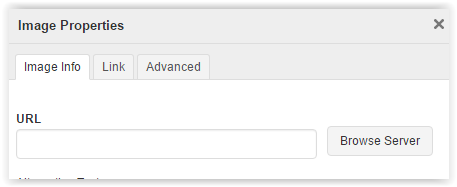
1. Click the  (image) icon located in the toolbar of the editor.
2. Click Browse Server.
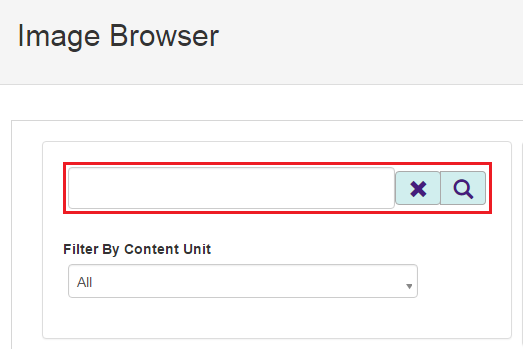
3. Search with the search bar in the Image Browser window to find an existing image. Select the desired image.
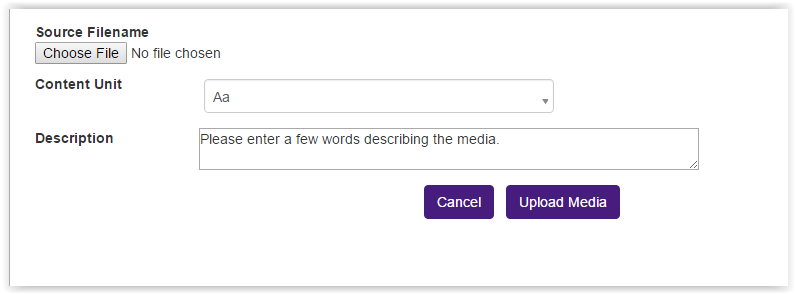
4. To upload a new image:
A. Click Add New at the top right.

B. Click Choose File, select the desired photo, and click Upload Media.
PLEASE NOTE: Be sure to include a Content Unit (the same one as the article you are working on) and a Description. You will also need the description for the alt-text in the next step.
5. After selecting an image, add a detailed description of what is in the image into the Alternative Text space.
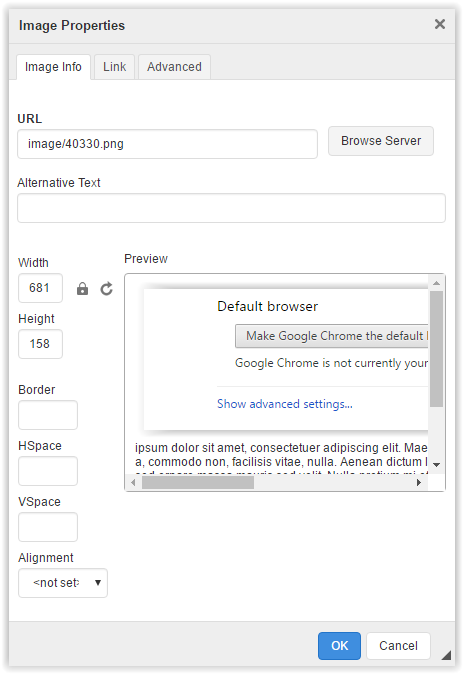
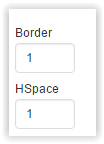
6. Enter a value of 1 into the Border and HSpace boxes.
7. Click OK.
8. Double space after each image. Check the Source button on this article to see the <br /> format you should use.
6357
8/12/2025 11:20:08 AM