Microsoft Office 2016 allows users to assign Delegates which allows another person access to certain content on the user's account and allows them to act on their behalf such as creating appointments or meetings in the calendar. User's may restrict a delegates permissions according to their supplementary needs. These permissions may be edited at any time.
To Assign a Delegate:
1. Select Accounts in the Tools tab.

2. Select the account for which you wish to assign a delegate, then select Advanced...
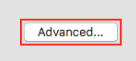
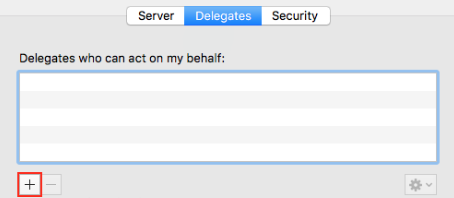
3. Select the Delegates tab at the top of the window, then select the Assign a Delegate  button underneath the first text box.
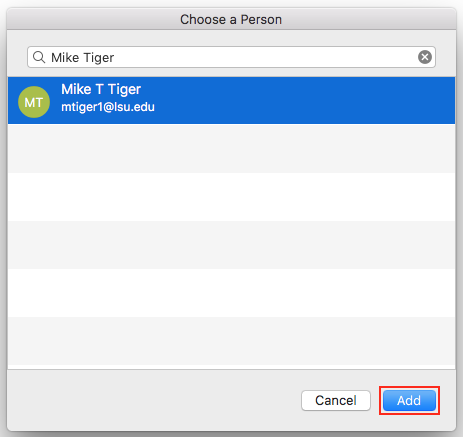
4. In the Choose a Person window, type the name or email address of the person you wish to assign as a delegate. Select their account, then select Add.
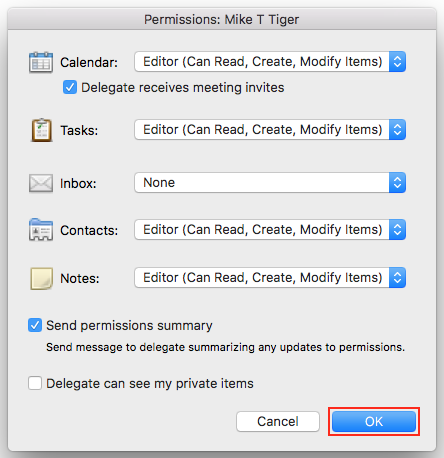
5. Set the delegate's permissions for each category and check any permissions as needed:
-
None - gives the delegate no access to this content.
-
Reviewer - allows the delegate to only read content.
-
Author - allows the delegate to read and create content.
-
Editor - allows the delegate to read, create, and modify content.
Then select OK.
6. Select OK in the next window and you're finished.
To Edit a Delegate's Permissions:
1. Select Tools > Accounts...
2. Select your account, then select Advanced...

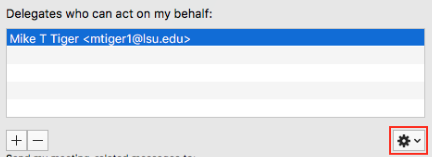
3. Choose the delegate whose permissions you wish to edit. Select the Permissions  option then select Set Permissions.
4. You may now freely edit the delegate's permissions accordingly:
-
None - gives the delegate no access to this content.
-
Reviewer - allows the delegate to only read content.
-
Author - allows the delegate to read and create content.
-
Editor - allows the delegate to read, create, and modify content.
When you are finished, select OK.
Note: If the link to the inbox is visible in but does not display content, please follow the steps below:
1. Right-click on the inbox folder and choose properties.
2. Select the "Permissions" tab and add the delegate's email address there.
3. Once at the permissions tab you can select the permissions level you want. Be sure to choose the "Folder visible" option under "Other" to ensure that it will be displayed through the delegate's own account (rather than having to manually open it through File/Open & Export/Other User's Folder).
Referenced from: support.office.com