There may be broken links in this article, the GROK staff has been notified and is working to resolve the issue.
This article has not been updated recently and may contain dated material.
Getting Started with Panopto
This article is for Non-Moodle users using Panopto via the Panopto Web Portal. The main differences using the Panopto Web Portal instead of Moodle are no direct delivery of videos to your Moodle course and more management of viewers for your recordings. Note: ITS recommends that instructors use Moodle for Panopto lecture capture and supplemental video recordings. For more information, see Panopto: Getting Started with Moodle.
For Non-Moodle users, you will have to go through the following three steps to begin using Panopto: (1) login to the LSU Panopto Web Portal, (2) request Creator Access, and (3) download the recorder from the LSU Panopto Web Portal. These three steps are outlined below.
Log into the LSU Panopto Web Portal:
1. Go to lsu.hosted.panopto.com, in either Firefox or Chrome.
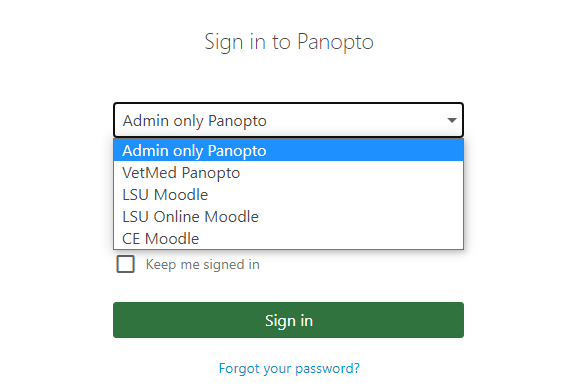
2. You'll see multiple items in the drop down menu at login, select LSU Moodle or LSU Online Moodle and click Sign in (check Keep me signed in if you'd like to do so).

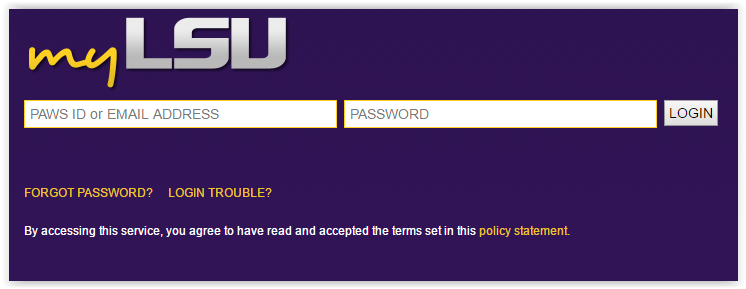
3. Enter your MyLSU ID Account and Password.

4. You will be taken to the LSU Panopto Web Portal.
Requesting Creator Access
If you need to create new content within Panopto but do not have the option to do so, you may need to request Creator permissions. In order to download the Panopto Recorder and begin creating recordings with Panopto, one must first be assigned the Creator role.
To request Creator role for your account:
1. Submit a Panopto Request with the following information:
- Name and MyLSU Account ID
- LSU College/Department
- Short description on how you plan to use Panopto
2. You will receive a confirmation email letting you know when you've been granted the Creator role.
NOTE: This request will take up to 72-Hours to complete.
Download the Panopto Recorder from the LSU Panopto Web Portal
1. Log in to lsu.hosted.panopto.com in either Firefox or Chrome by clicking the green Sign In button and entering your MyLSU info.
2. Click the Create button, then select Panopto for Windows or Panopto for MacOS. This will open a page showing assorted Panopto downloads.


3. Make sure you are looking at the section labeled Panopto (as opposed to Remote Recorder) and click on the download button for the Windows installer or MacOS installer. Use the appropriate installation instructions for either the Mac or Windows recorder.
4. Once you've followed the download instructions you will be ready to begin using the Panopto recorder. See the following articles on recording and managing your recordings.
Referenced from: Panopto