To Install LabVIEW on a Windows Operating System:
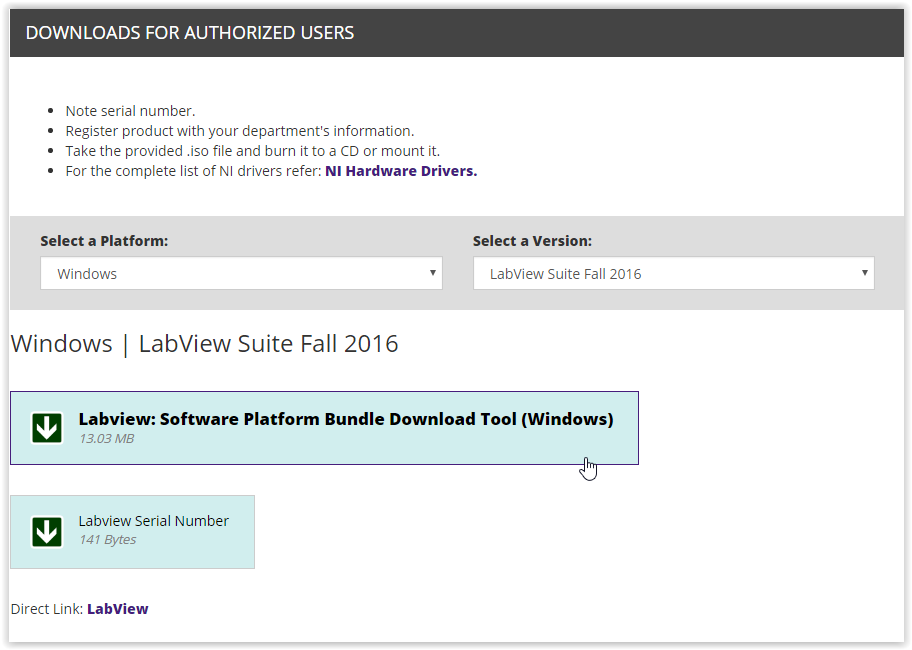
1. Log in to TigerWare to download.
2. Click the Labview: Software Platform Bundle Download Tool (Windows) to download the program.
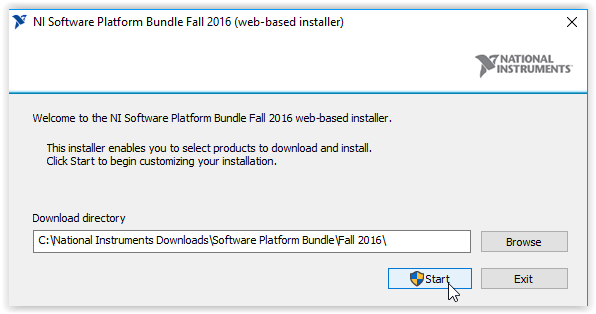
3. After downloading, open the software. The download directory installation screen will appear. Choose Start at the bottom of the window.
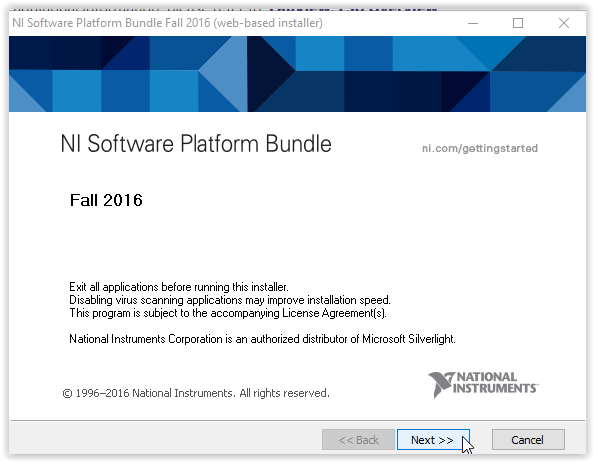
4. Once the Software platform bundle opens, click Next at the bottom right corner of the window.
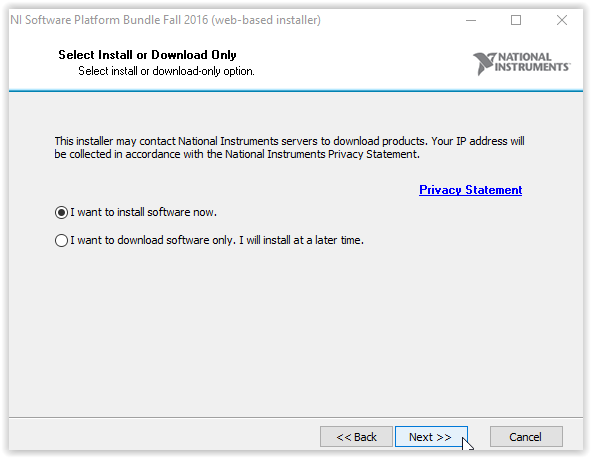
5. On the installation screen, select I want to install software now and click Next at the bottom of the screen.
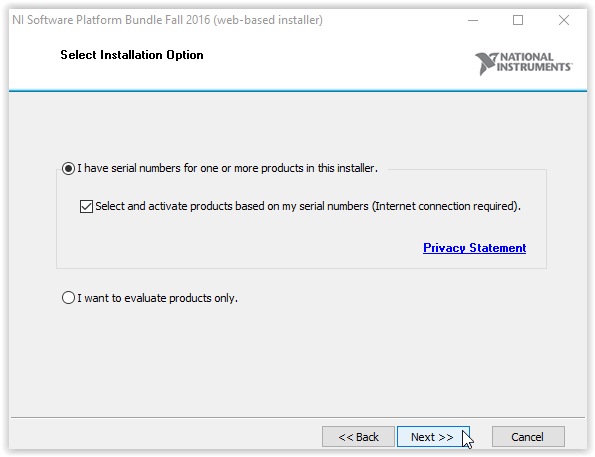
6. On the Installation Option screen, make sure the First option is selected. Afterwards, click Next at the bottom of the screen.
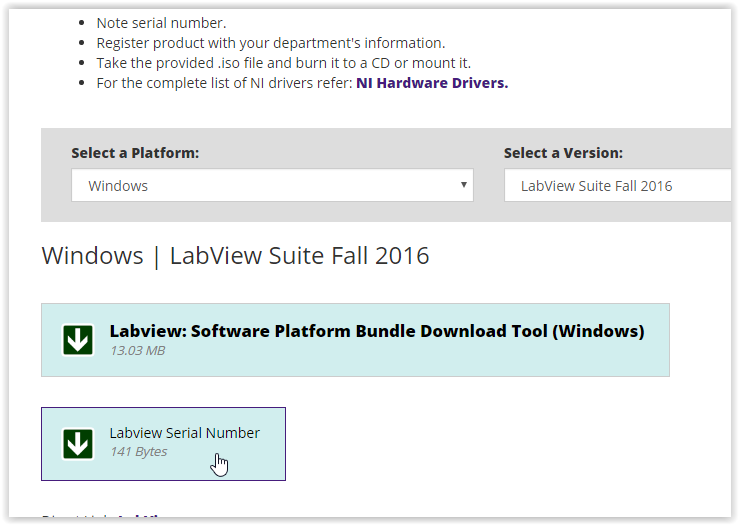
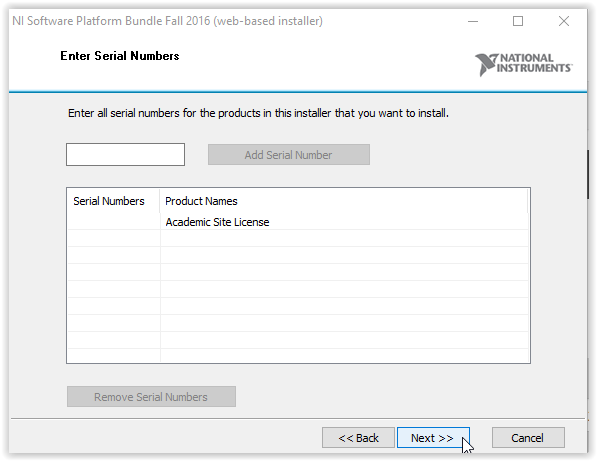
7. You will now see the Enter Serial Numbers screen. Go back to TigerWare and download the Labview Serial Number program.

8. Enter your serial number from the text file and click Next at the bottom of the screen.
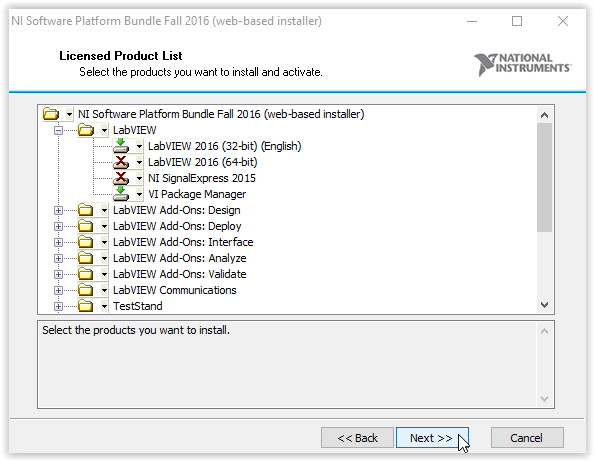
9. On the Licensed Product List, select which products you want to install and activate. This is where you make the choice of a 32-bit or 64-bit installation. After you have finished choosing, click Next.
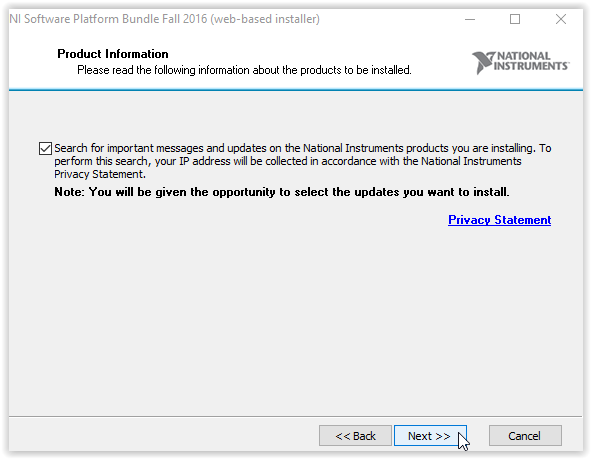
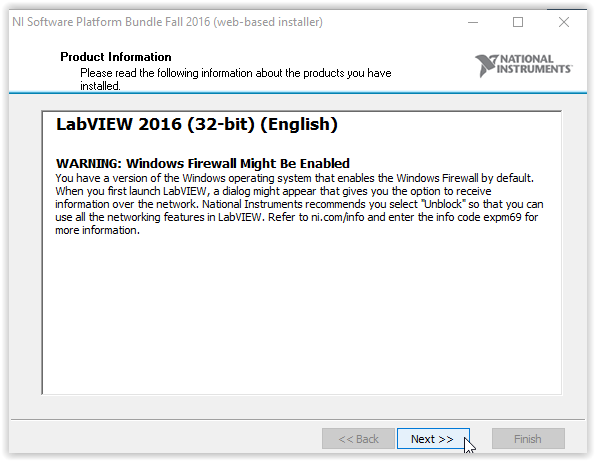
10. On the Product Information screen, make sure the tick box is selected and click Next.
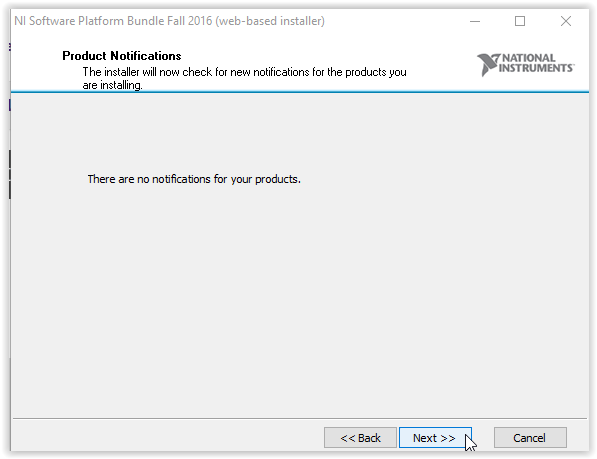
11. On the product notifications screen, simply click Next at the bottom corner.
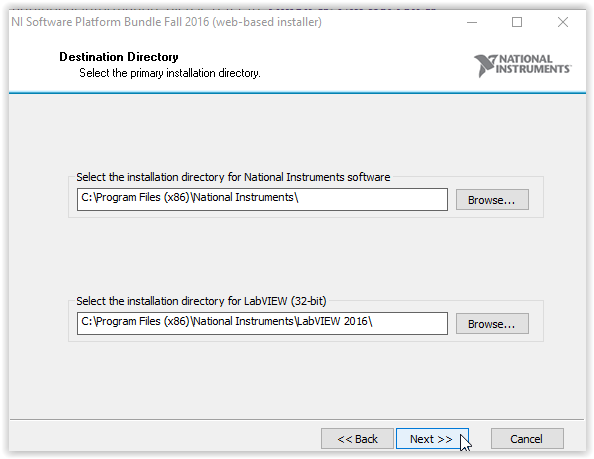
12. On the destination directory screen, click Next at the bottom of the window.
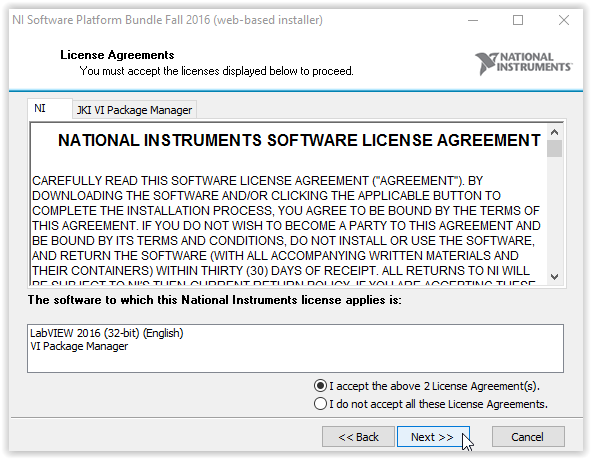
13. On the License agreement screen, read and accept the next two agreements and click Next at the bottom of the window.
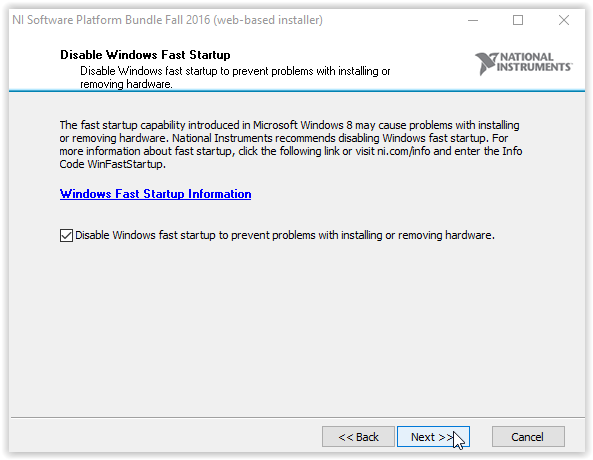
14. Next, on the disable windows fast start up, choose whether or not you would like to disable it. Then, click Next at the bottom of the window.
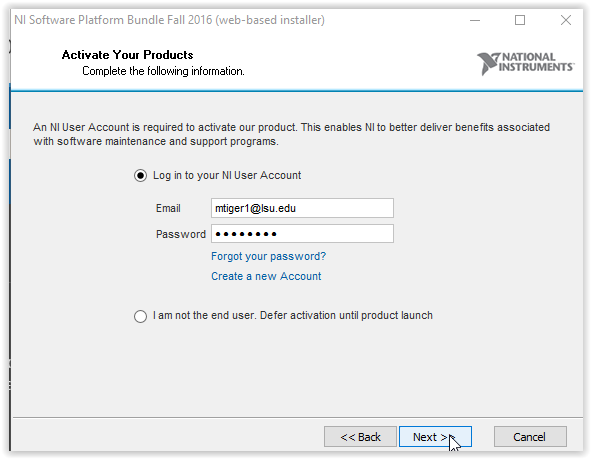
15. On the next screen, you will be asked to activate your products. You also must have a NI User Account. Click Create a new Account if you do not have one already.

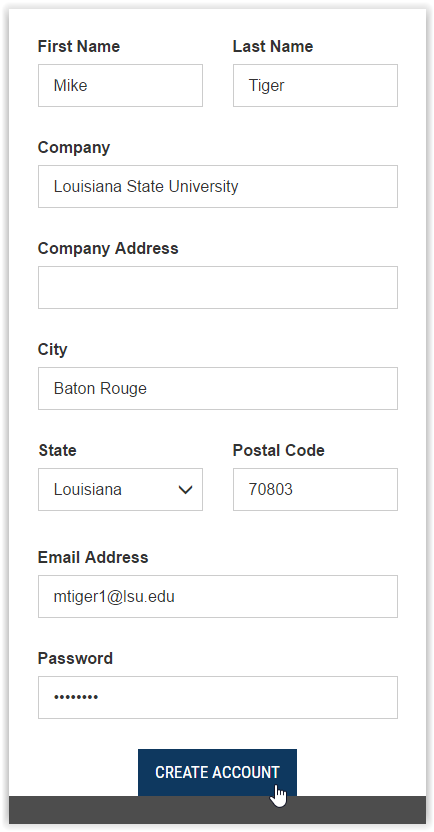
16. Enter your information such as first and last name as well as an email address. Then, click Create Account.
17. After confirming your account via email, enter your account details and click Next at the bottom of the window.
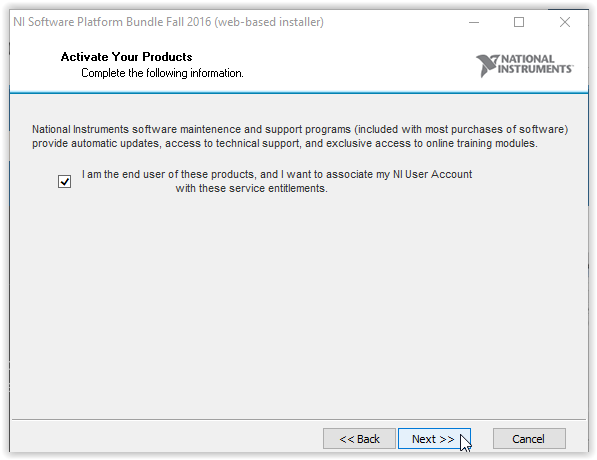
18. On the activate your products screen, make sure the tick option is selected and click Next at the bottom of the window.
19. On the start download and installation, click Next at the bottom of the window.
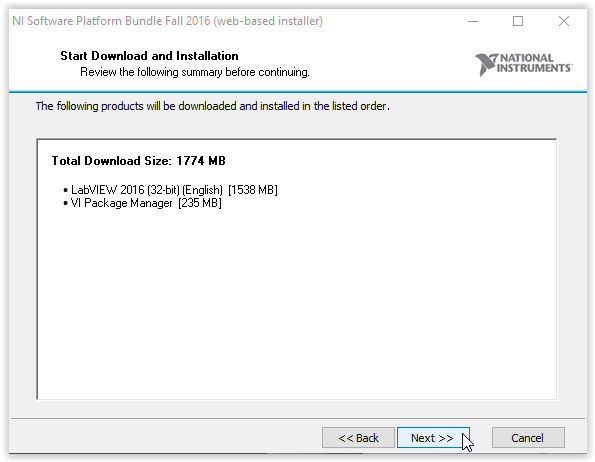
20. On the next screen, make sure that the version chosen is the one you wanted, and click Next at the bottom of the window.
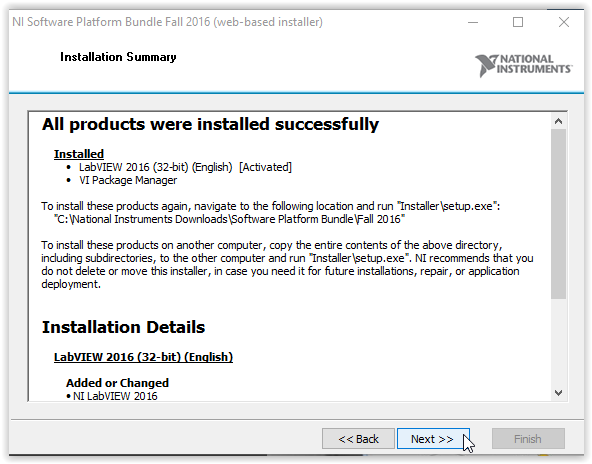
21. Installation will proceed. Once finished, click Next at the bottom of the window.
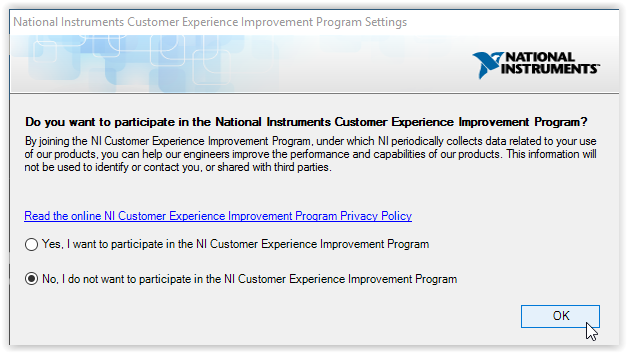
22. On the Improvement Programs settings, select whether you want to participate in the NI Customer Experience Improvement Program. Afterwards, click OK.
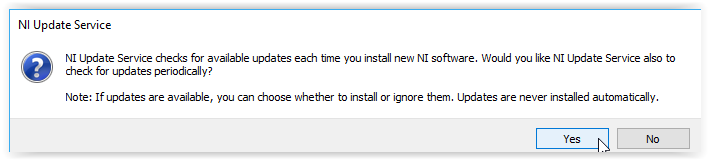
23. The update service will pop up. Click Yes in order to automatically install important updates.
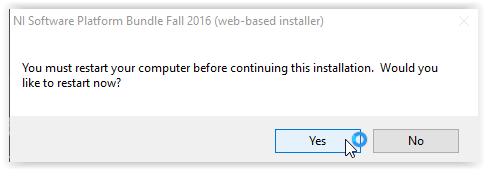
24. Finally, you must restart your computer before installation completes. Simply click Yes to restart your computer and finish installation.
Reference: LabVIEW