Panopto: Basic Editing
This article has not been updated recently and may contain dated material.
Editing Basics with Panopto
To begin editing your recordings, first you must access the LSU Panopto Web Portal, either via Moodle or directly from the LSU Panopto Web Portal login page.
NOTE: Silverlight is required for editing, and multiple video cards may crash silverlight. Editing does not affect the original session content.
1. Log in to the LSU Panopto Web Portal via Moodle or directly from the LSU Panopto Web Portal login page.
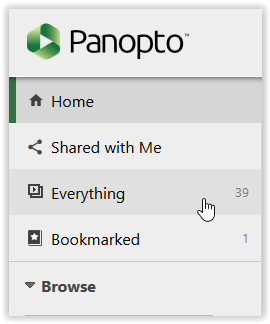
2. Click the Everything button on the left side of the Panopto homepage.

3. Click the Edit button under the video you wish to edit and view the following basic editing features.

To Remove Beginning and End of a Recording:
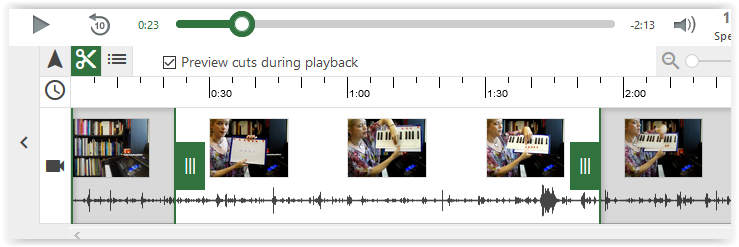
1. Grab the handles on either ends of the timeline located at the bottom and drag inward to the desired time you want the recording to begin/end.
NOTE: Eliminated portions are grayed out. and the center section is kept.

To Remove the Middle Portions of a Recording Audio and/or Video:
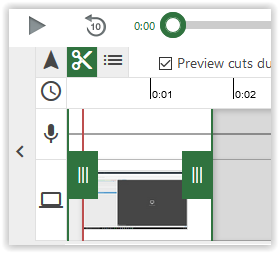
1. Click once on the scissors icon.
2. Click on the section of the presentation to remove. NOTE: The click that comes first will set the start point of the cut and the second click sets the end point of the cut. Drag handles in either direction if needed to adjust segment. The area in the shaded yellow area in the picture below shows the starting and ending point of this action.

3. Click Publish or Revert near the top of the page.
NOTE: Publishing saves all changes, reverting reverts the video back to the original.

**For Advanced Editor with Panopto, see: Panopto: Advanced Editing.
Referenced from: Panopto Support
17454
11/8/2023 1:55:29 PM