To Install ArcGIS Server on a Windows Operating System:
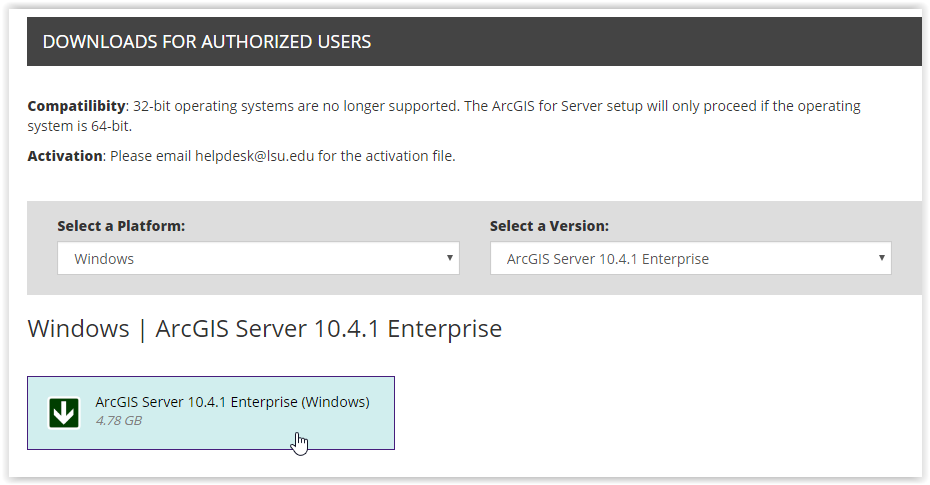
1. Download from Tigerware.
2. The file downloaded is in the .iso format. In order to view its content, you must use an extraction program (such as PowerISO which will be used for this article). In your .iso reader program, extract the contents into a folder.
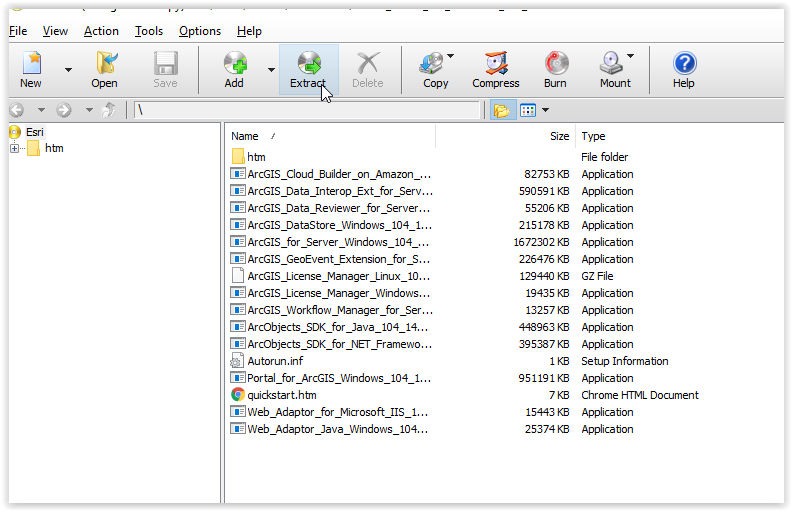
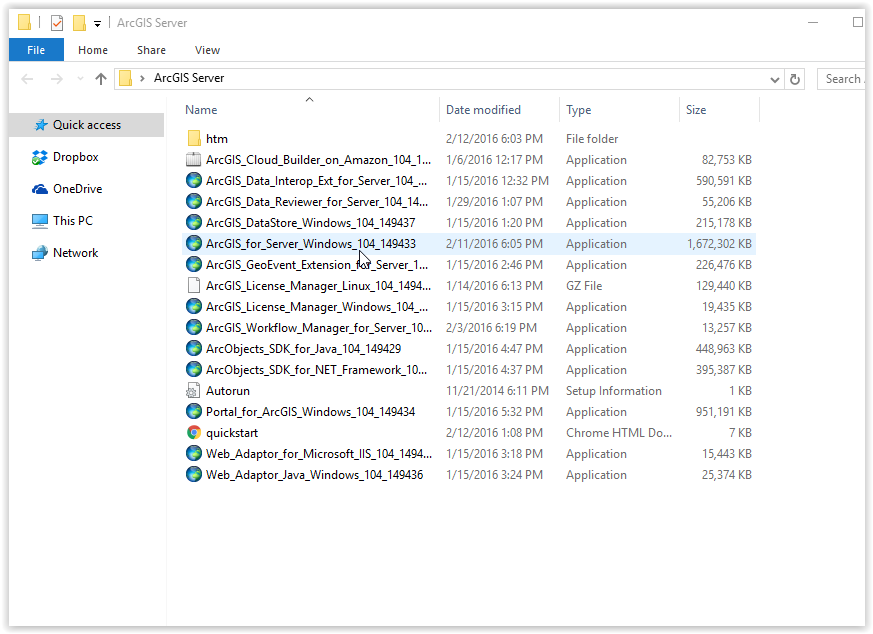
3. You will now encounter several applications that come with the software package. Select the program named ArcGIS_for_Server_Windows_104_149433 and run it.
4. The installation wizard will appear. Choose where you would like the Destination Folder to be located, and click Next.
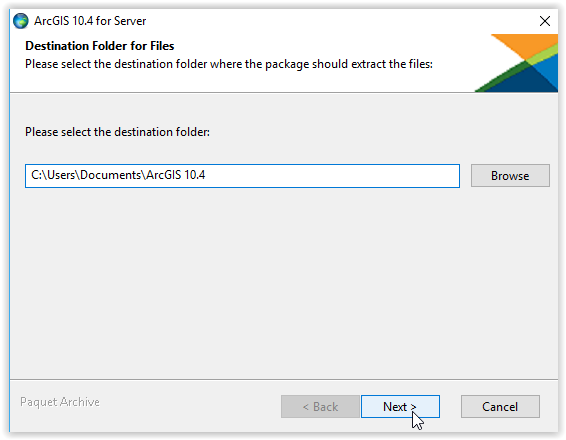
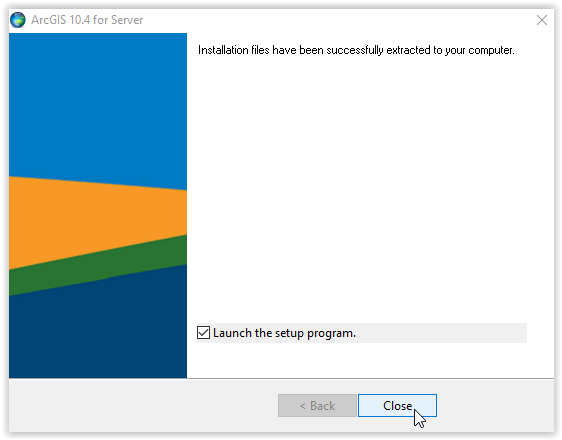
5. The installation will proceed, extracting the files downloaded.
6. Make sure Launch the Setup Program is selected, and click Close at the bottom of the screen.
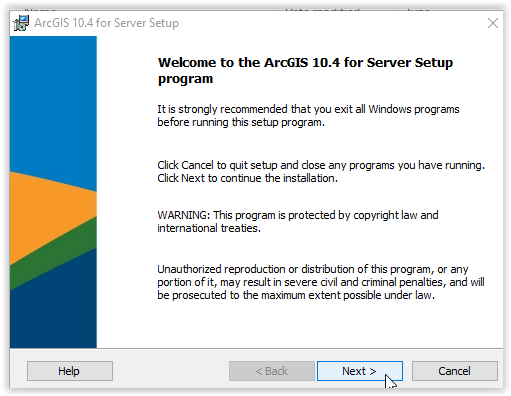
7. On the welcome screen of the Server Setup, select Next at the bottom of the window.
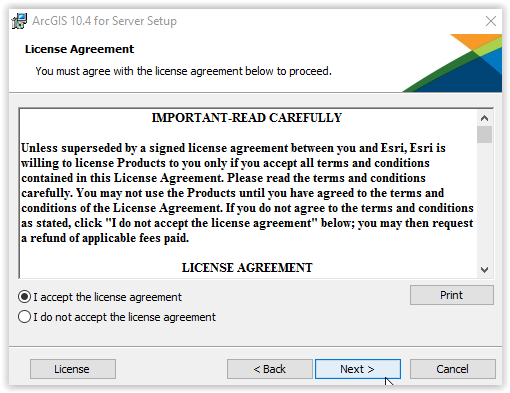
8. Read the License agreements and Accept them. Afterward, select Next.
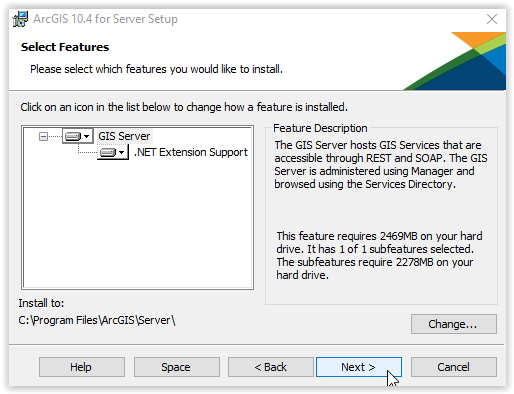
9. On the Features screen, click Next.

10. On the Python Destination Folder screen, select the location where Python will be installed. Click Next.
11. To proceed to the next step, you must create an ArcGIS Server Account.

a. To create an account, access the ArcGIS Server Login webpage.
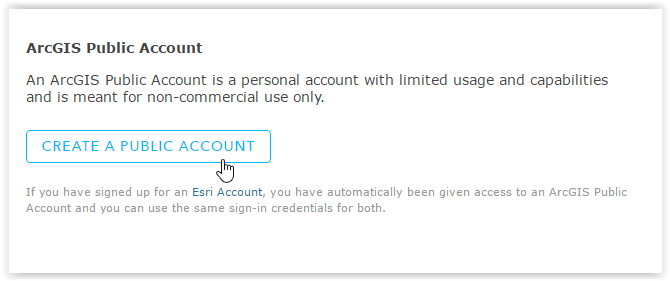
b. On the left-hand side of the page, click Create a Public Account.
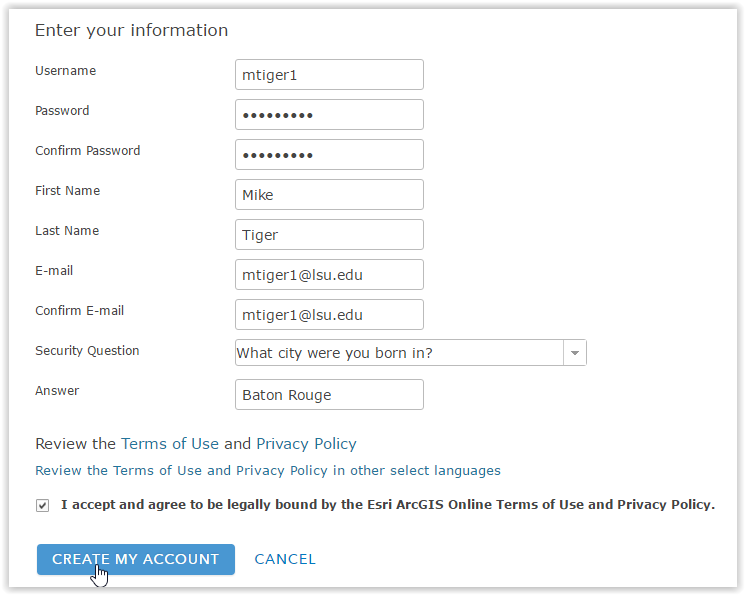
c. Select Enter Your information on the next screen.

d. Enter your information as requested, and select Create my Account.
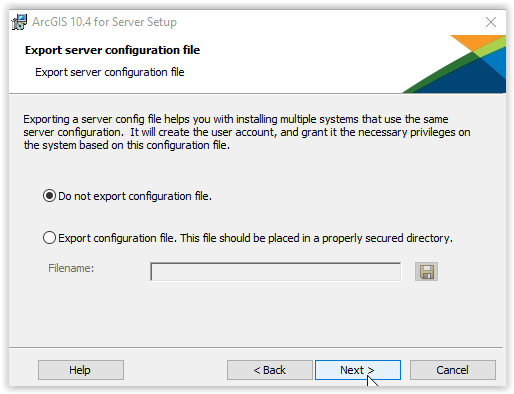
12. On the next screen, select Do not export configuration file. Then, click Next.
13. At the bottom of the page, begin installation by pressing Install.
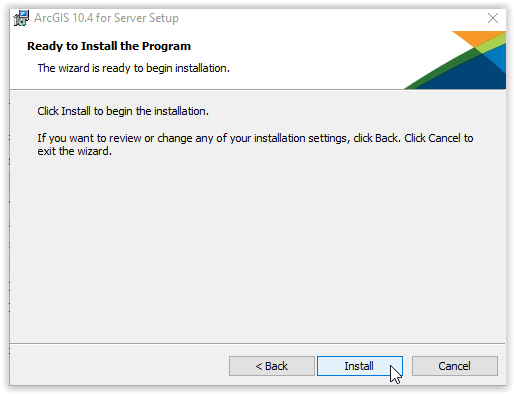
14. The installation will proceed.
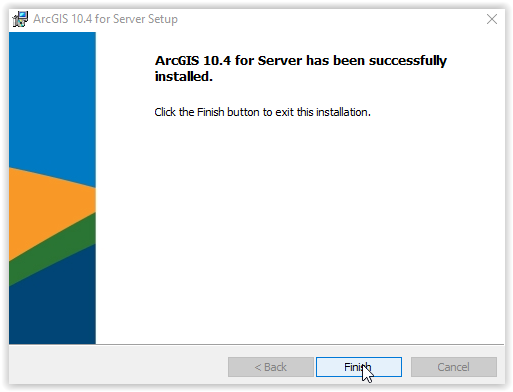
15. After the installation is completed, select Finish to exit the installation client.
Referenced from: ESRI.com