To Install WebStorm on a Mac OS X Operating System:
1. Go to the WebStorm website to download the WebStorm software. (Before beginning, you will need to Sign Up for an Educational Account.)
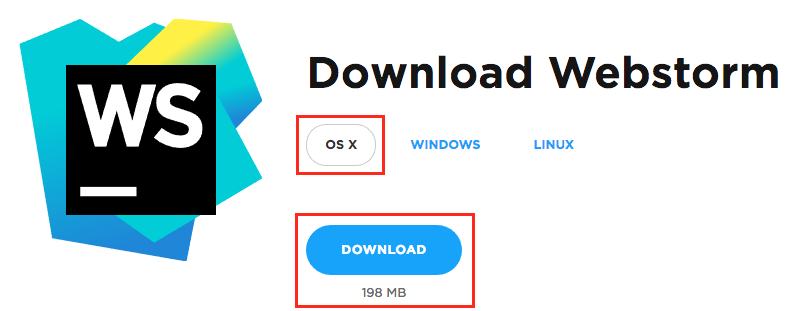
2. Select OS X, click Download, and select your download location.
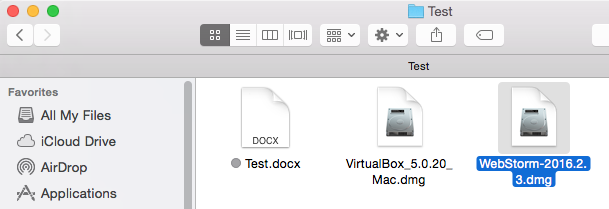
3. After the download is complete, open the file from the selected download location.
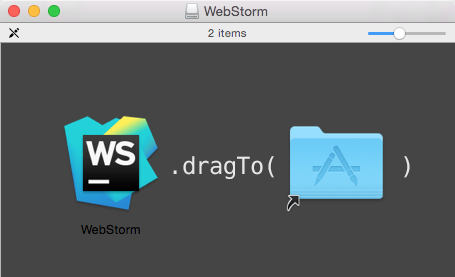
4. In the WebStorm window, drag the WebStorm icon in the Applications folder.
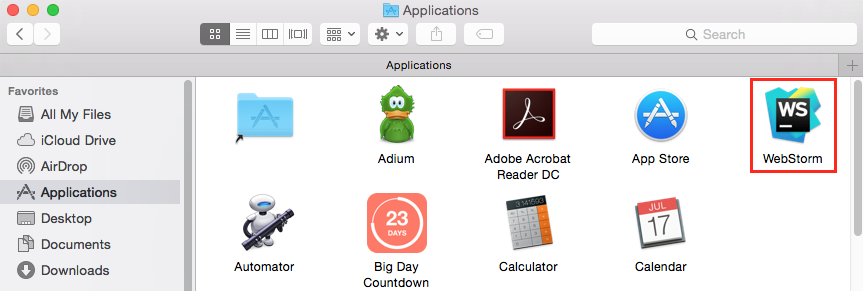
5. In the Applications folder, double-click the WebStorm icon.
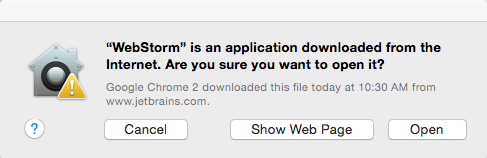
6. In the window that appears, click Open.
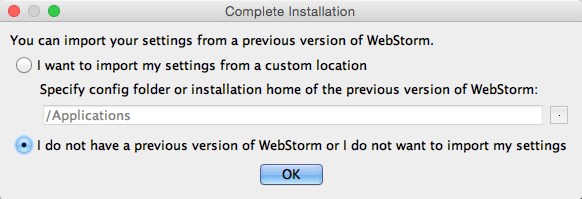
7. In the Complete Installation window, select the second option, and click OK.
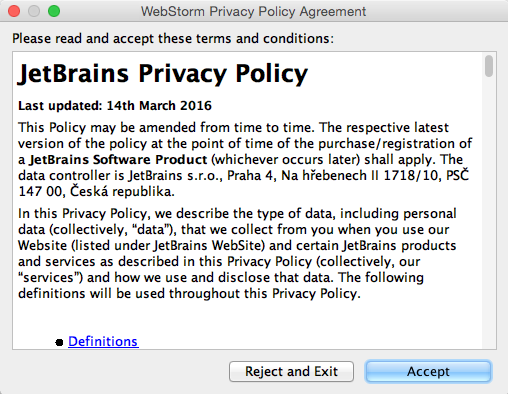
8. In the Privacy Policy Agreement window, click Accept.
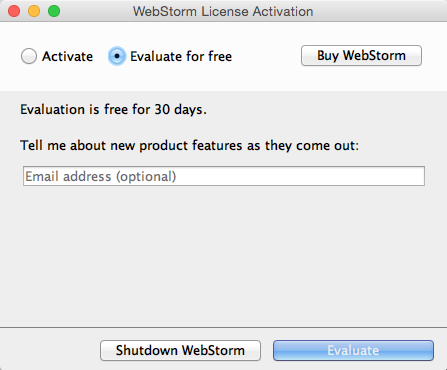
9. In the License Activation window, click Evaluate for free, and click Evaluate.
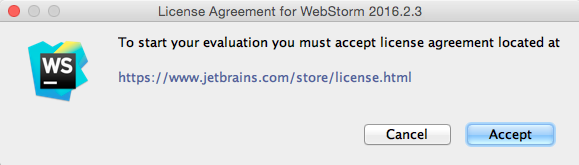
10. In the License Agreement for WebStorm window, click Accept.
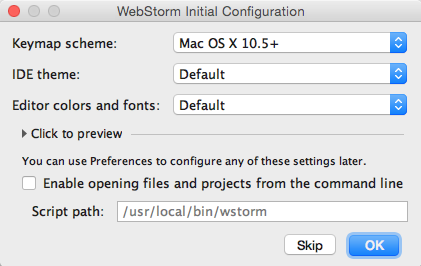
11. In the Initial Configuration window, select your desired options from the dropdown lists, and click OK.
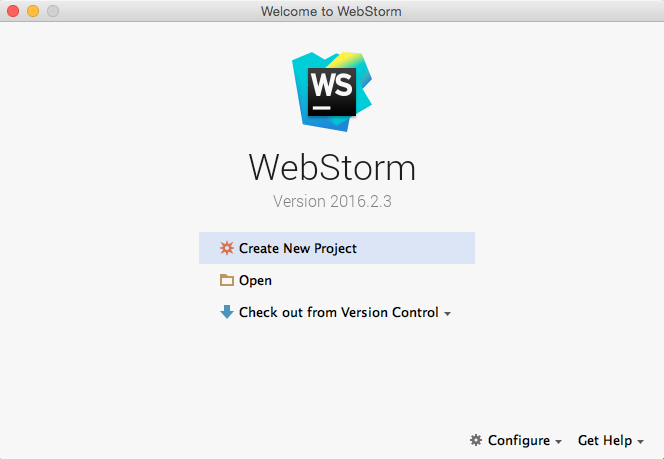
12. The WebStorm window will open, and you can begin using the software.
Referenced from: JetBrains