JMP: Installation Instructions (Mac)
To Download JMP on a Mac OS Operating System:
1. Download JMP .zip from TigerWare.
2. Extract the .zip file and click through the following folders:
JMP, JMP_Pro, [version number], Macintosh, then select JMP-Install.dmg.
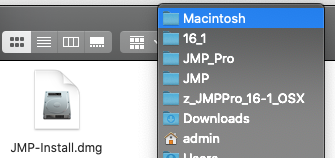
Once verified, a new window will open up with a JMP Pro .pkg file. Double-click to open it.

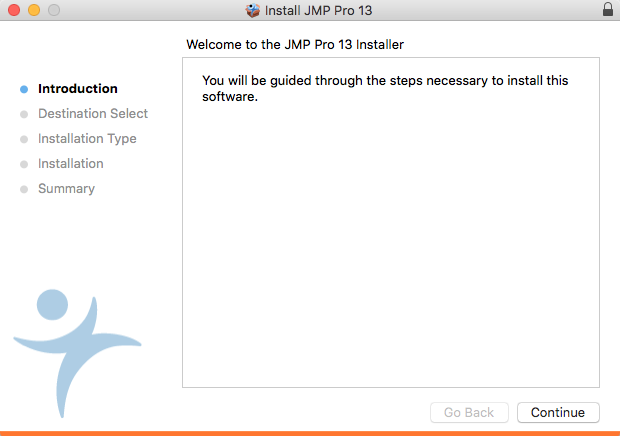
3. Click Continue to begin the installation.
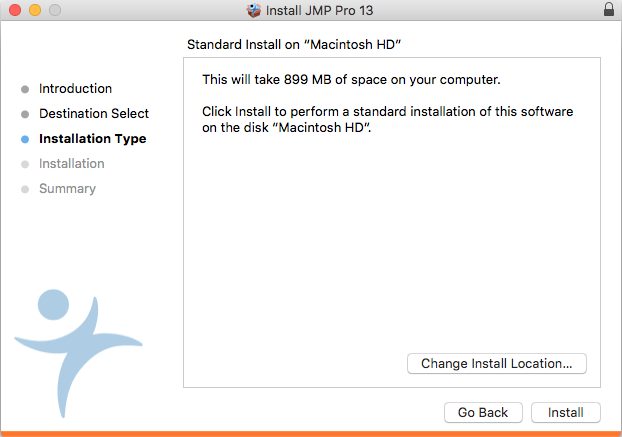
4. Click Continue.

5. Click Install.
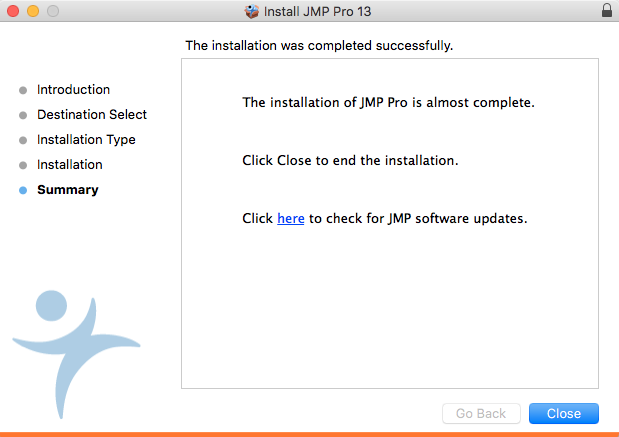
6. Click Close when you receive a message, "The installation was completed successfully."
7. The program should now be installed on your computer and can be opened by going into Applications and double-clicking JMP.
8. To activate JMP 18, please send a request to your instructor to export their class list so we may add you to the JMP Portal. If you are a grad assistant, faculty, or staff, please use the following form: IT Service - Tigerware General Inquiry
To activate JMP 17, please see GROK article #17110: JMP: Activation / Reactivation (Mac).
Referenced from: JMP.com
18852
8/27/2025 7:58:58 AM