Mac OS X: Manually Set Up Pharos Pop-Up Client
This article has not been updated recently and may contain dated material.
Manually Set Up Pharos Pop-Up Client:
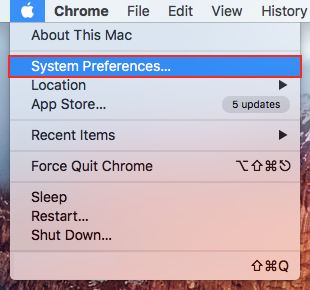
1. At the top left corner of your screen, click the Apple icon.
2. Click on System Preferences.
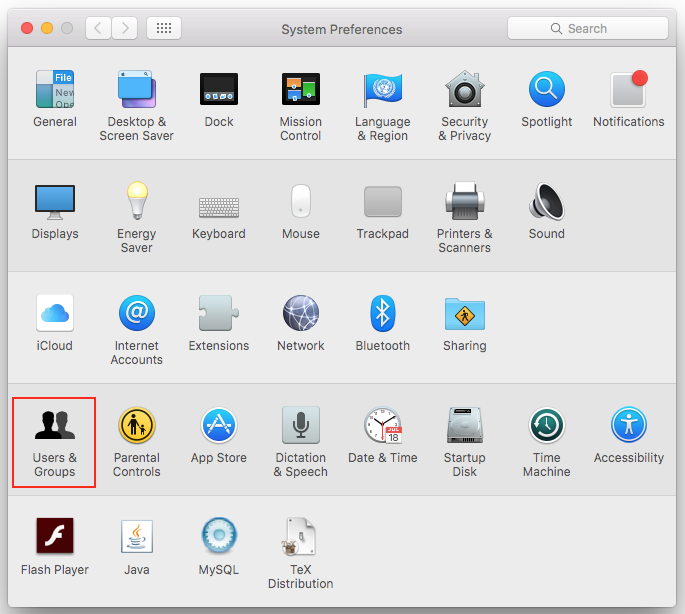
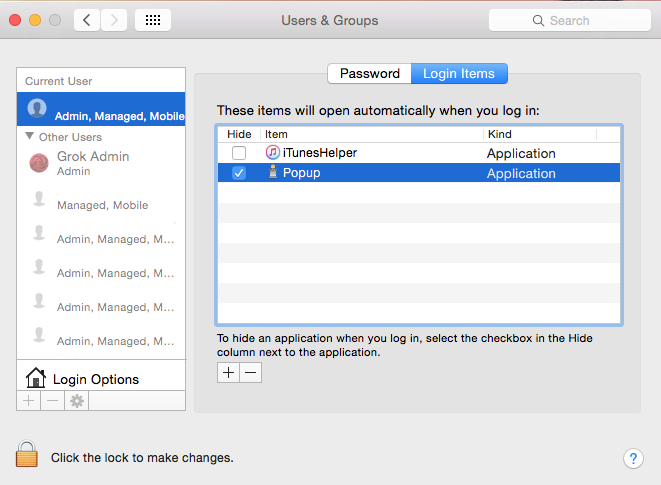
3. On the System Preferences screen, click Users & Groups.
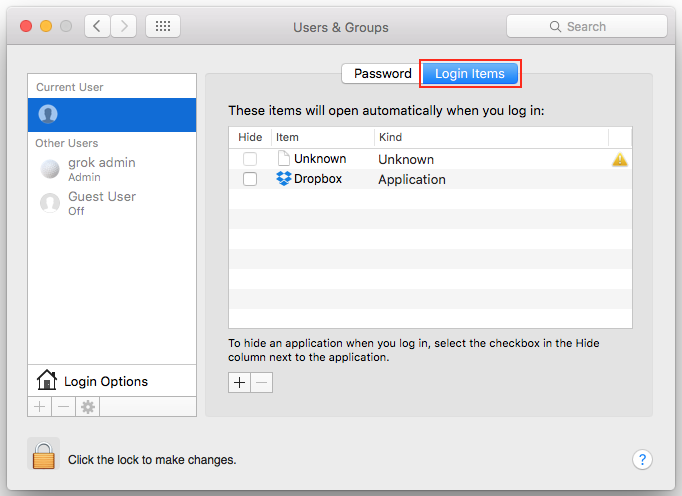
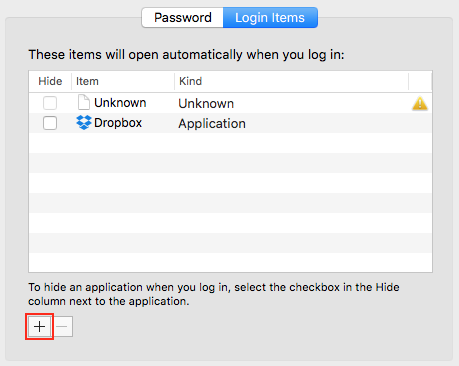
4. On the next screen, select Login Items.
5. Click the + sign at the next screen.
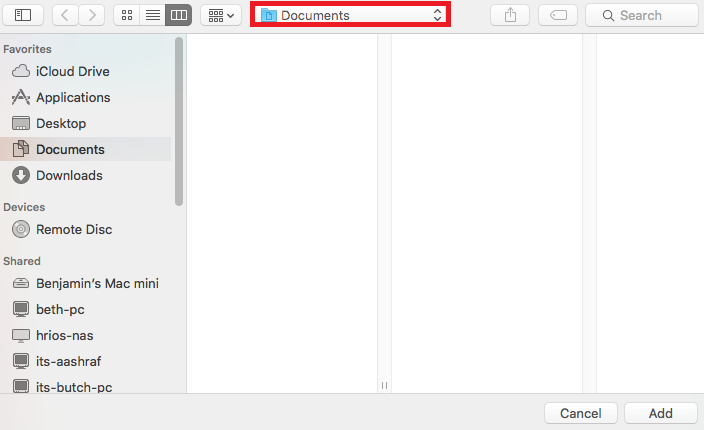
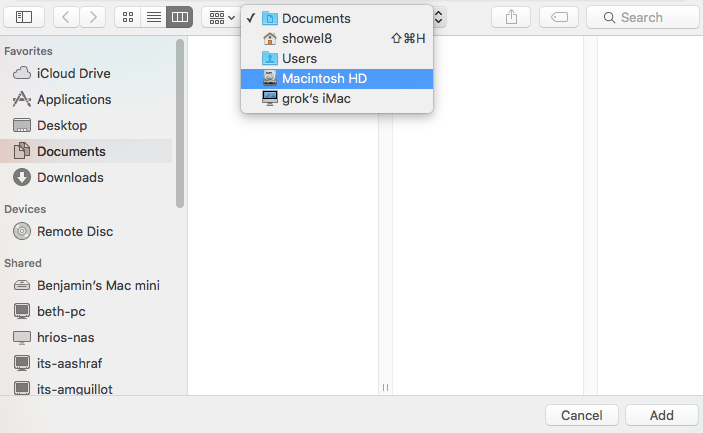
6. On the next screen, locate the drop down browsing bar in the top middle of the screen.
7. On the drop down bar, select Macintosh HD. (Hard Drive)
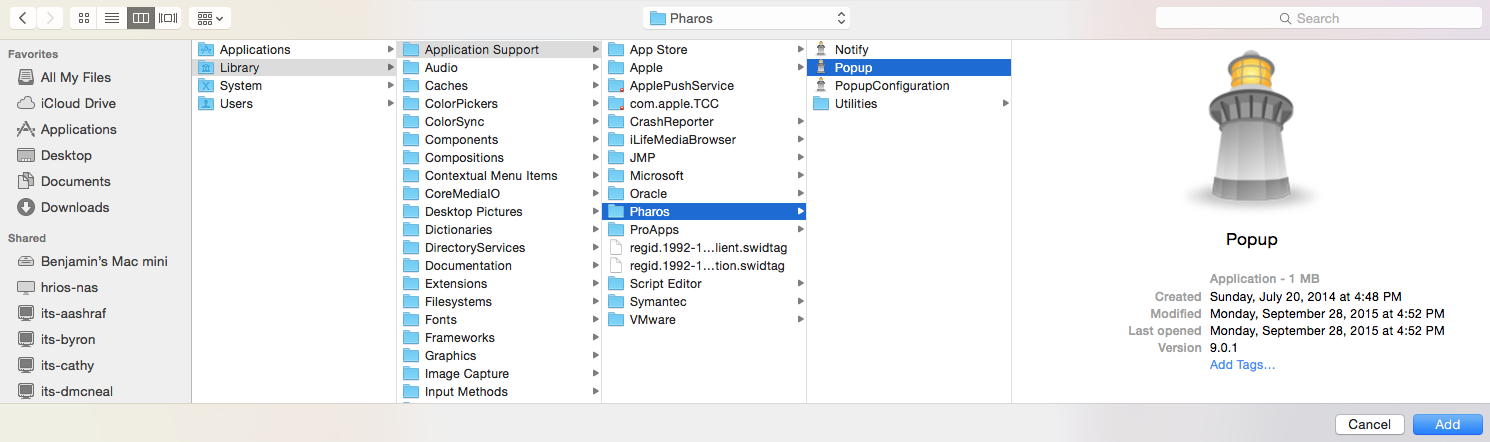
8. On the next screen, browse: Library > Application Support > Pharos > Popup. Select Popup and click Add.
9. Your Pharos pop-up is now set up manually.
Referenced from: Pharos
18059
1/2/2025 12:44:59 PM