Virtual Box: Installation Instructions (Windows)
To Install VirtualBox on a Windows Operating System:
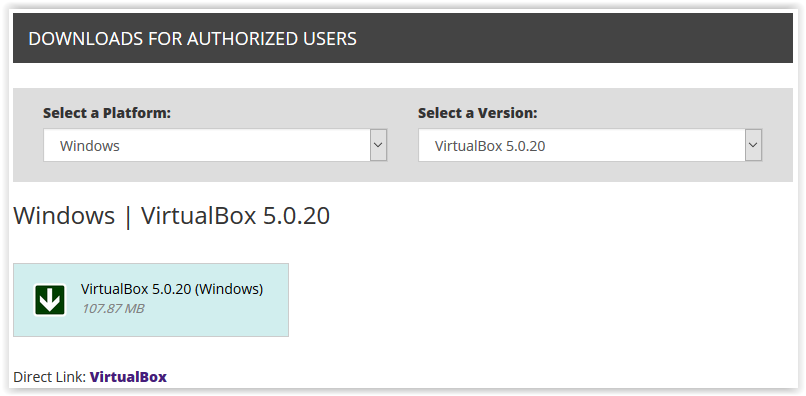
1. Log into TigerWare.
2. Click the download link found under Download for Authorized Users.
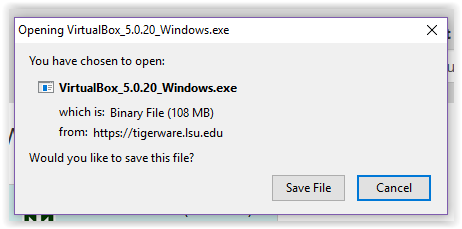
3. Click Save File on the dialog box.
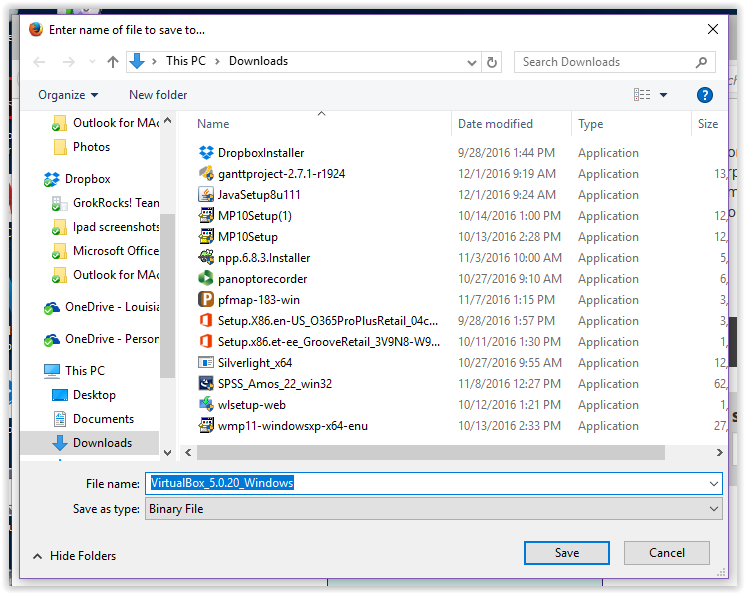
4. Choose a Destination to save the file.
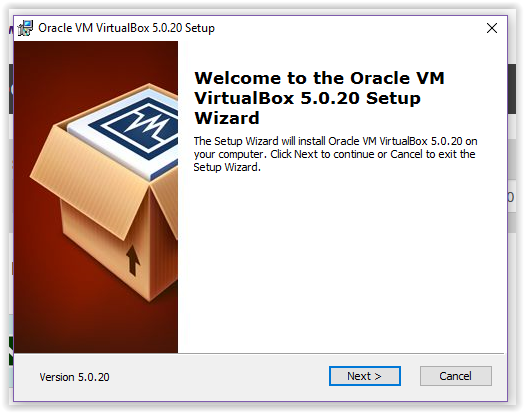
5. On the bottom of the next window, click Next.
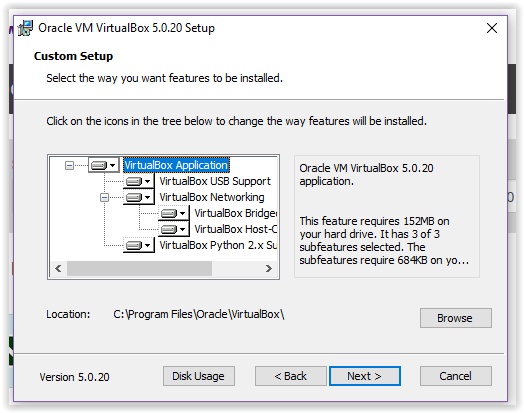
6. Confirm the location of the installation (C:\Program Files\Oracle\VirtualBox\) and click Next at the bottom right of the window.
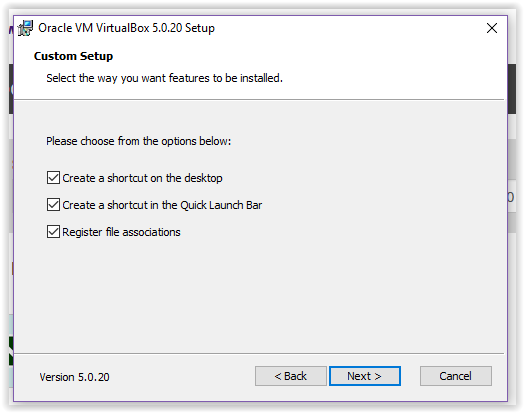
7. After checking the boxes to your preference (all three are recommended), click Next at the bottom right of the screen.
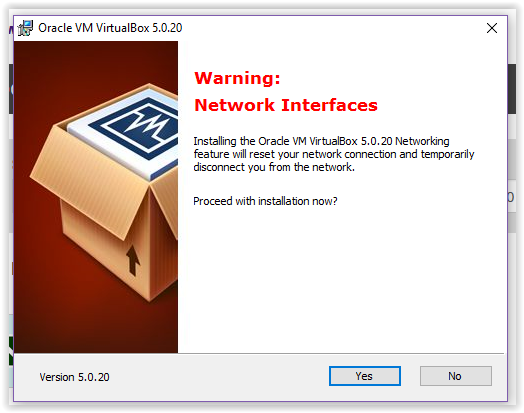
8. After exiting all the programs that are using the internet (Google Chrome, etc), click Yes.
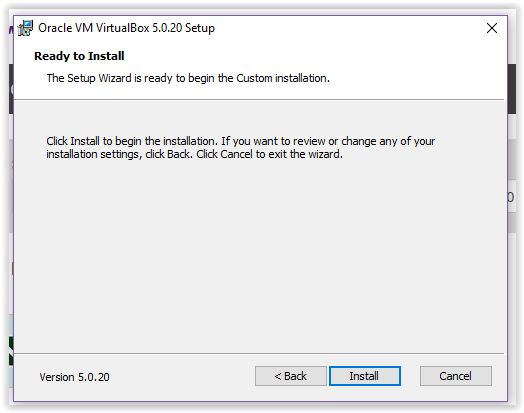
9. Click Install at the bottom right of the screen.
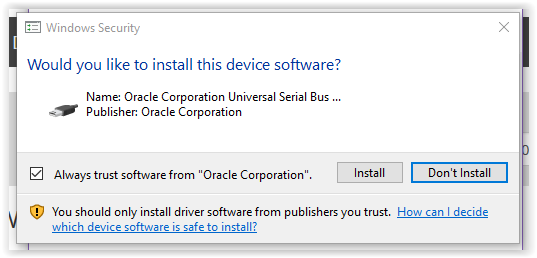
10. A Windows Security message will pop up. Click Install in the middle of the window.
11. Click Finish at the bottom right of the screen.
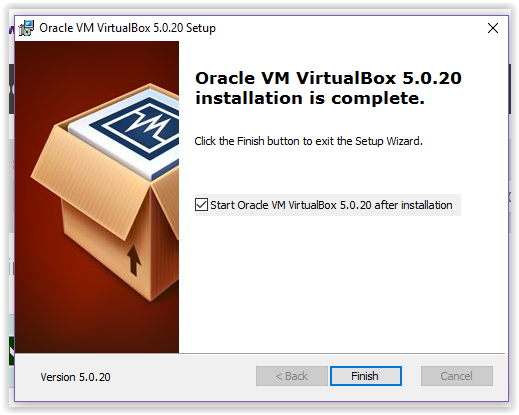
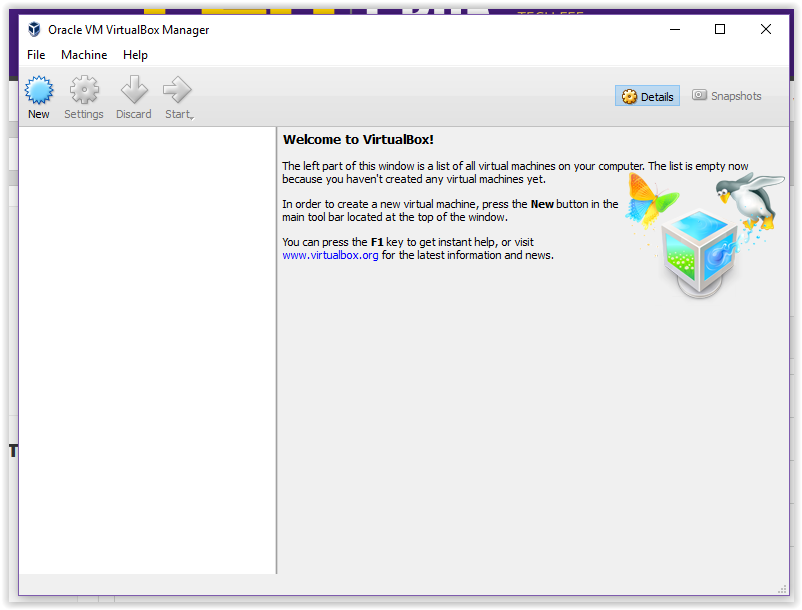
12. VirtualBox is now installed in your computer.
Referenced from: VirtualBox
17636
8/20/2025 1:02:38 PM