JMP 18 and newer have different instructions to license the software. Please read the article below carefully.
Starting with JMP 18, we must manually add all users to a licensing portal by email. Although this can be done quickly for individuals, for large classes it is time prohibitive to add each person one by one, so it is best to export the list of students in Moodle for a course which needs JMP for coursework and provide this to ITS to avoid delays.
To Export a Class List from Moodle:
1. Log into Moodle and open your course.
2. On the left sidebar, click Course Tools.
3. In the center area, click the # Students/Instructors button that has the number of members in the course instead of "#".
4. At the top left in the list of members, click the top checkbox to select all.
5. Scroll to the bottom of the member list and click the dropdown next to "With selected members..."
6. Select Download table data as comma-separated values (.csv).
7. Provide this to ITS by creating a Tigerware Inquiry ticket and uploading it, or by sending it via email attachment to software@lsu.edu.
To Install JMP on Windows:
1. Go to TigerWare (login if you do not see the downloads available).
2. Click to download the available files for JMP Pro.
3. If prompted, Save File and Yes to allow changes to be made to the computer.
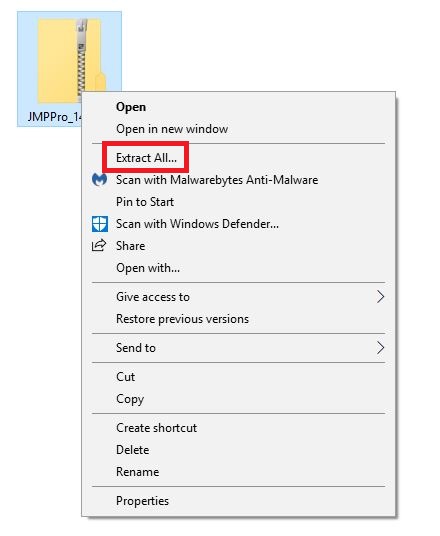
4. Upon completion of the download, right click on the file and select Extract All.
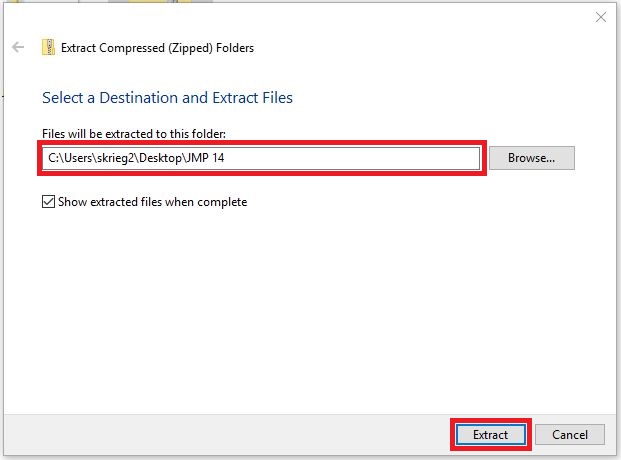
5. Select a destination location for the unzipped files, then click Extract.
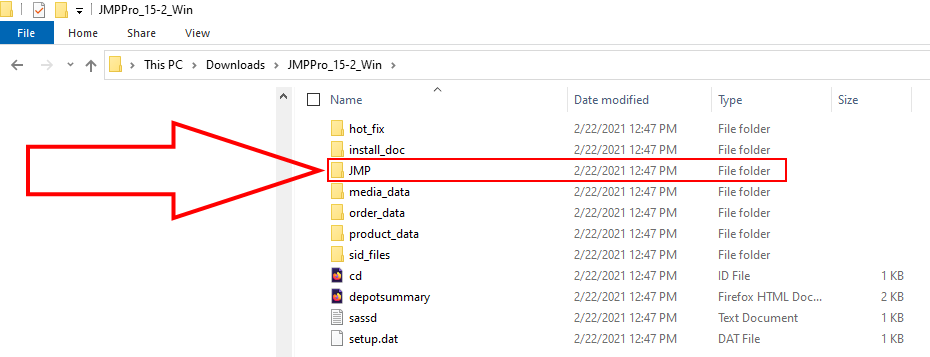
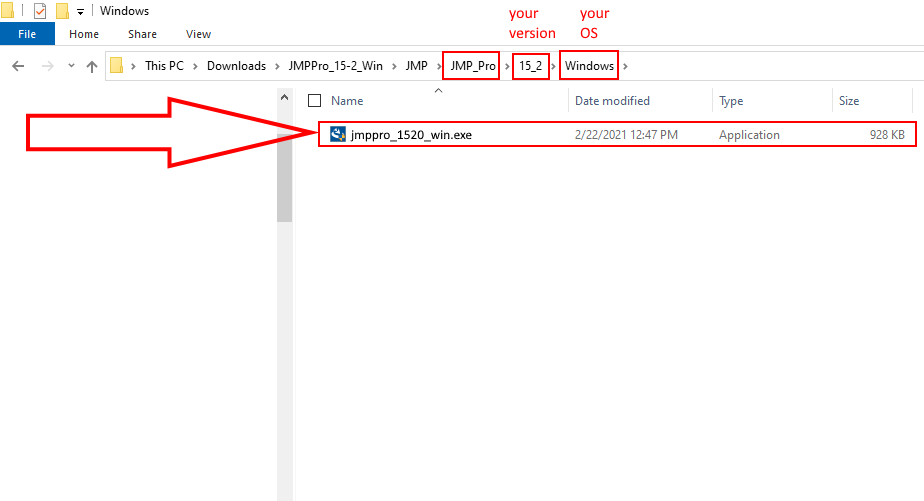
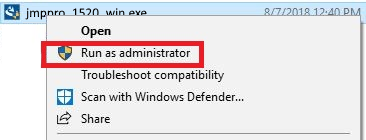
6. Navigate to the unzipped folder in your File Explorer and right click the application setup file called jmppro_[version]_win, or jmppro_[version]_win.exe.
NOTE: Your folder may extract to a default location, or to a custom folder you select. If you are having trouble finding your setup file, please try the following example location on Windows as a guide: C:\Users\[yourusername]\Downloads\JMPPro_15-2_Win\JMP\JMP_Pro\15_2\Windows\
7. From the context menu, select Run as administrator.
8. If prompted, select Yes to allow changes to be made to the computer, allowing the InstallShield Wizard to launch.
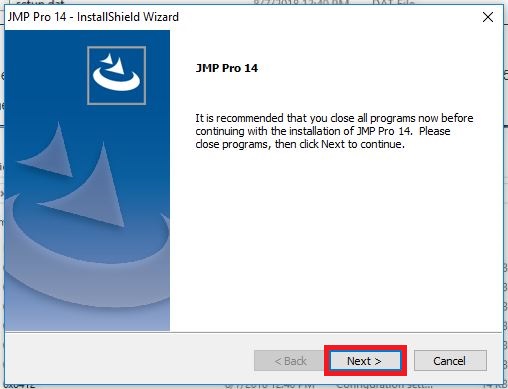
9. Close all unnecessary programs, and select Next.
10. Select the destination folder for file installation, click Next. The default location is: C:\Program Files\SAS\JMPPRO\15 (the number may be different depending on which version is available on Tigerware).
11. Select the features you desire installed, click Next. For expanded information on these features, visit JMP's Website.
12. The InstallShield Wizard is now ready to begin installation. Select Install to begin the process.
13. Upon completion of installation, select Finish to end the process.
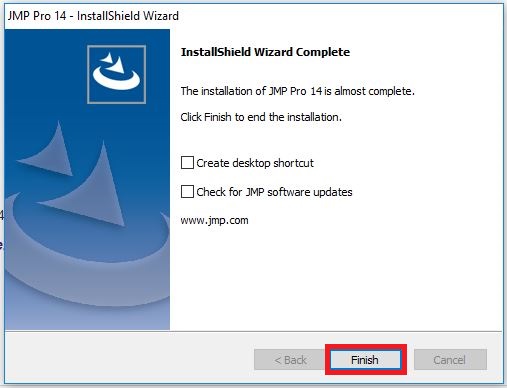
14. Prior to launching JMP Pro, you may be prompted to restart your computer. You can choose to do so immediately, or at another time. Regardless of your selection click Finish to complete the setup and close the InstallShield Wizard.
15. To launch JMP, navigate to the directory you selected in step 10 (e.g. C:\Program Files\SAS\JMPPRO\15) and double-click JMP or JMP.exe.
16. JMP should now license itself if ITS has already added the user to the JMP license portal.
17. The application will now ask you to save a file called jmp.per. It does not matter where you save it as long as you do not delete it. Most users can simply click Save.
18. Installation is complete (register if you care to do so).
Referenced from JMP Statistical Discovery.