Teams: Enable Closed Captioning
Closed Captioning can be enabled in Teams during a meeting with several settings and features available. A host may also enable transcription during the meeting.
To Enable Closed Captioning in Teams:
- Open Teams and log in with your myLSU credentials.
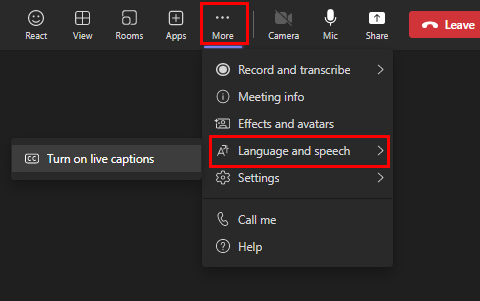
- In the meeting, click the More tab, choose Language and Speech, then select Turn on live captions.
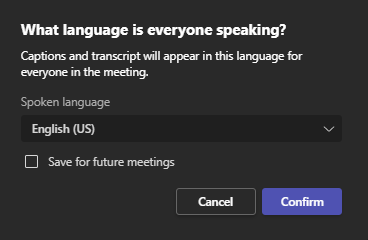
- You will then be asked which language to caption in; select a language and choose Confirm. You can also check Save for future meetings to remember your choice.
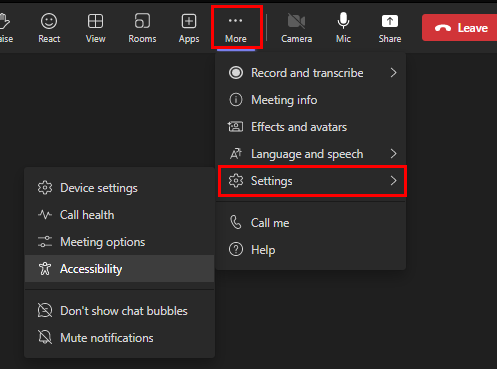
- If you would like to show captions in meetings by default, click the More tab, choose Settings, then select Accessibility.
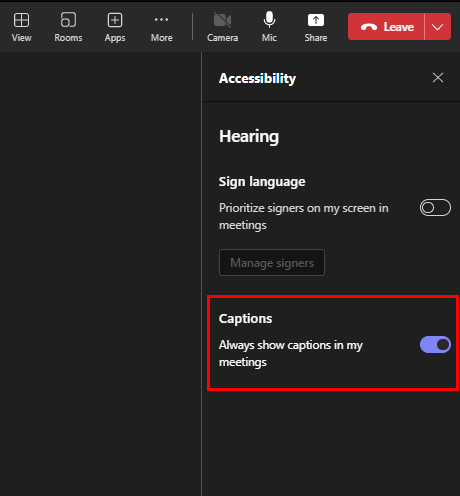
- In the sidebar, choose Always show captions in my meetings.
To Change your Caption Settings:
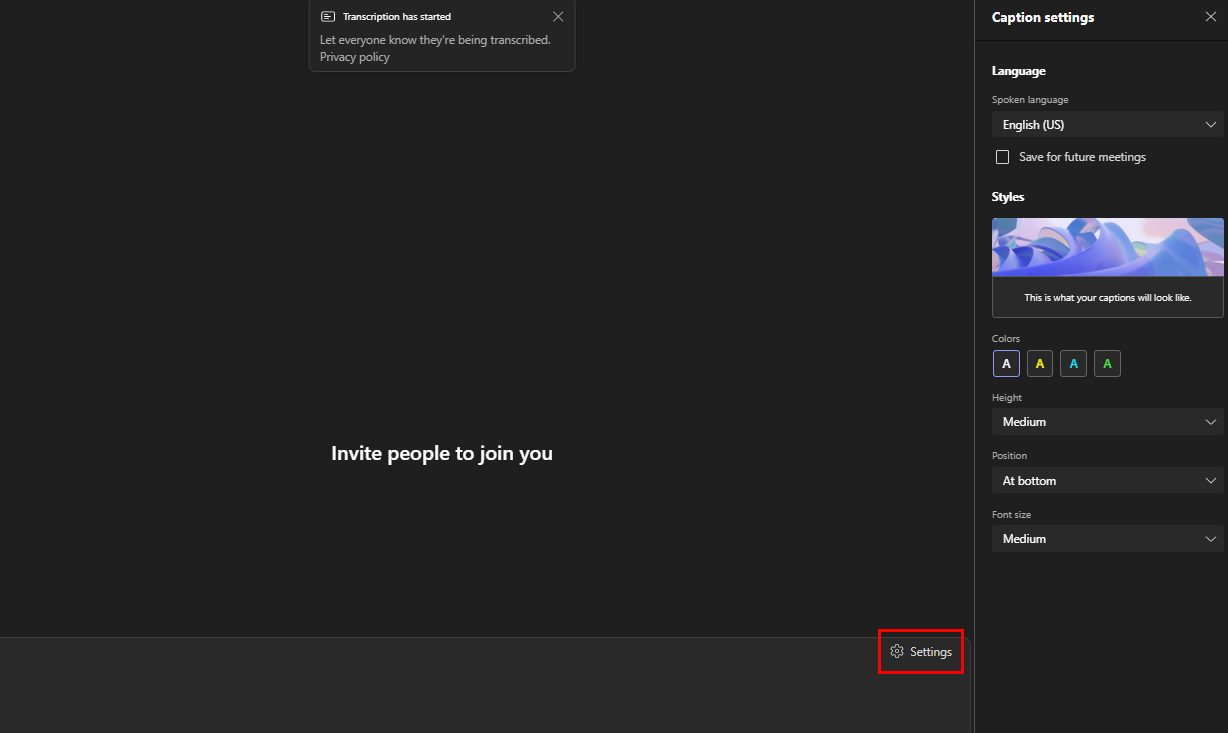
- In your caption window, click Settings, then select Caption settings.
- A sidebar will appear with Language options, font and color options, as well as caption window height and position.
To Enable Transcription as a Host:
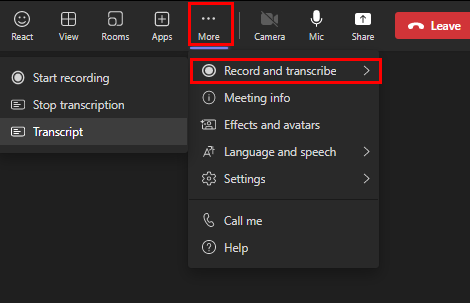
- In the meeting, click the More tab, choose Record and transcribe, then select Start transcription.

- Transcription will then be enabled for all users.
- To access the transcript again in the meeting, click the More tab, choose Record and transcribe, then select Transcript.
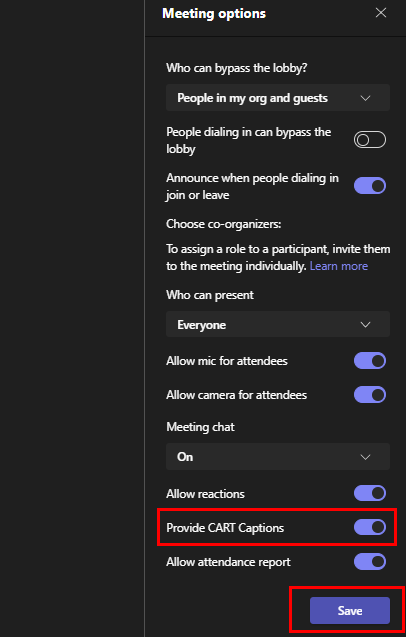
- If you would like to enable CART Captions, click the More tab, choose Meeting options, then select Provide CART Captions. Then, click Save to apply the changes.
Referenced from: Teams meeting support: Live transcription
20574
8/8/2023 3:46:54 PM