OneDrive for Business (Office365): How to Permanently Delete a Document
This article has not been updated recently and may contain dated material.
To Permanently Delete a Document:
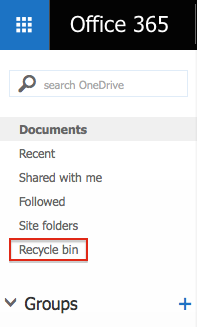
1. From the front page of OneDrive, look for and click the Recycle bin tab on the left side of the screen.
2. When the page opens, find the document you wish to delete and check the box next to the title.
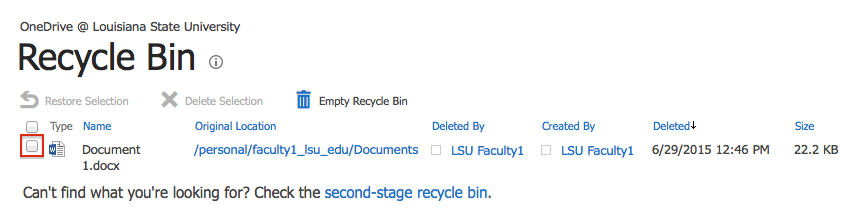
3. After checking the box, select Delete Selection.

4. Your selection will now be removed from the recycling bin, permanently deleting it.
17760
9/16/2025 4:19:36 PM